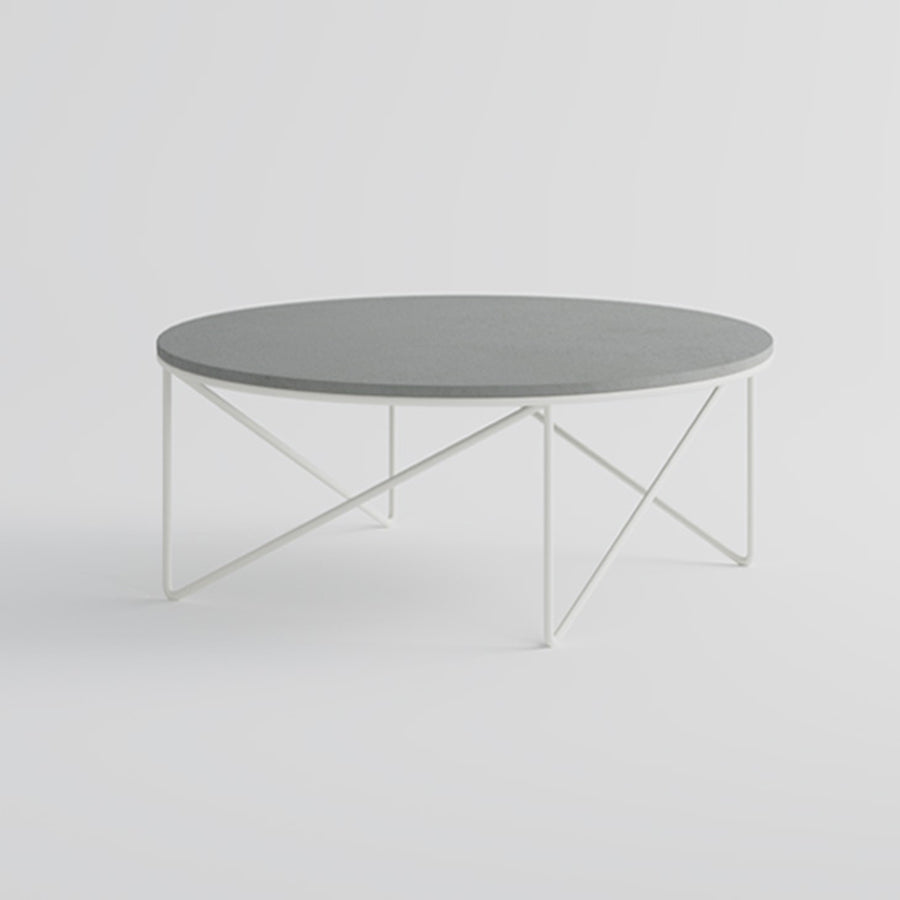
How to Make Concrete Furniture
Share
Introduction:
Concrete furniture has become increasingly popular due to its durability, versatility, and modern aesthetic. Whether you're looking to create a statement piece for your living room or a sturdy outdoor table, making your own concrete furniture can be a rewarding DIY project. Here's a comprehensive guide to help you get started.

Why Choose Concrete Furniture?
Concrete furniture offers several advantages:
- Durability: Concrete is highly resistant to wear and tear, making it ideal for both indoor and outdoor use.
- Customization: You can mold concrete into virtually any shape and size, allowing for unique, custom designs.
- Aesthetic Appeal: The industrial look of concrete adds a modern, chic touch to any space.
- Low Maintenance: Concrete furniture is easy to clean and requires minimal upkeep.
Materials and Tools You'll Need
Before you start, gather the following materials and tools:
- Concrete mix: Choose a high-quality mix that suits your project needs.
- Water: For mixing with the concrete.
- Mold: You can use ready-made molds or create your own from wood, plastic, or other materials.
- Reinforcement: Steel rebar or mesh to strengthen the concrete.
- Release agent: To prevent the concrete from sticking to the mold.
- Trowel: For smoothing the concrete.
- Sander: For finishing touches.
- Sealer: To protect the finished piece.
- Protective gear: Gloves, mask, and goggles to ensure your safety.
Step-by-Step Instructions
1. Design and Plan Your Piece
- Sketch Your Design: Start with a detailed sketch of your furniture piece. Consider dimensions, shape, and function.
- Choose Your Mold: Depending on your design, select or build a mold. Ensure it's sturdy enough to hold the weight of the concrete.
2. Prepare the Mold
- Clean the Mold: Ensure the mold is clean and dry.
- Apply Release Agent: Coat the inside of the mold with a release agent to make it easier to remove the concrete later.
3. Mix the Concrete
- Follow Instructions: Mix the concrete according to the manufacturer's instructions.
- Consistency: Aim for a thick, paste-like consistency. Avoid adding too much water as it can weaken the concrete.
4. Pour the Concrete
- Pour in Layers: Pour the concrete into the mold in layers, adding reinforcement as you go. This helps to prevent air bubbles and ensures even distribution.
- Tamp Down: Use a trowel to tamp down the concrete and eliminate any air pockets.
5. Smooth and Set
- Smooth the Surface: Use a trowel to smooth the surface of the concrete. You can add texture or patterns at this stage if desired.
- Curing Time: Allow the concrete to cure according to the manufacturer's recommendations. This usually takes at least 24-48 hours.
6. Remove the Mold
- Carefully Remove: Once the concrete has cured, carefully remove the mold. Use gentle tapping and prying to avoid damaging the piece.
- Sand the Edges: Use a sander to smooth any rough edges and achieve your desired finish.
7. Seal the Concrete
- Apply Sealer: Once the concrete is completely dry, apply a concrete sealer to protect it from stains and moisture.
- Multiple Coats: Apply multiple coats if necessary, following the sealer's instructions for drying times between coats.
Tips for Success
- Work in a Well-Ventilated Area: Concrete dust can be harmful, so ensure your workspace is well-ventilated.
- Use Reinforcement: Always use reinforcement like steel rebar or mesh to add strength to your furniture.
- Experiment with Colors and Textures: Add pigments to your concrete mix or experiment with different surface textures to create unique designs.
Conclusion:
Creating your own concrete furniture can be a fulfilling and creative project. With the right materials, tools, and a bit of patience, you can craft beautiful, durable pieces that add a modern touch to any space. Or you can provide the drawing of the furniture you want to the concrete furniture manufacturer, lionzconcrete factory will be your good design helper. We hope that we can help you to have a unique furniture design. Happy crafting!

